Friday, April 2, 2010

THE TOP PART 1

This has got to be THE MOST challenging project I've undertaken!

I started (pretty late!) this morning by checking the moisture content of the boards after they had spent the last week in the garage. After the incessant rain we've had, the boards had all increased in MC by between 1% and 2%, My assumption therefore is that the boards are pretty close to equilibrium with the environment. Unfortunately, my moisture meter broke during this process, so repairs (and a modification or two to prevent it from conking out again) will be required some time in the future.
The rest of the afternoon was spent sizing the 1,800 x 50 x 100 boards that will form the first of 3 laminations for the top. I've decided to laminate four of these boards together in a set, and laminate 3 sets together to obtain the final width of 600mm.

This should make flattening the individual sets much easier which in turn will make for easier flattening of the top once it's fully laminated.

I only hope that I'll be able to obtain a decent flatness across the length of the boards...


I toyed around with the idea of leaving the top at around 125mm thick - but since I haven't decided on work holding apparatus yet, I decided to go 100mm. That way I get to use my 150mm quick clamps to hold down objects on the surface of the bench.

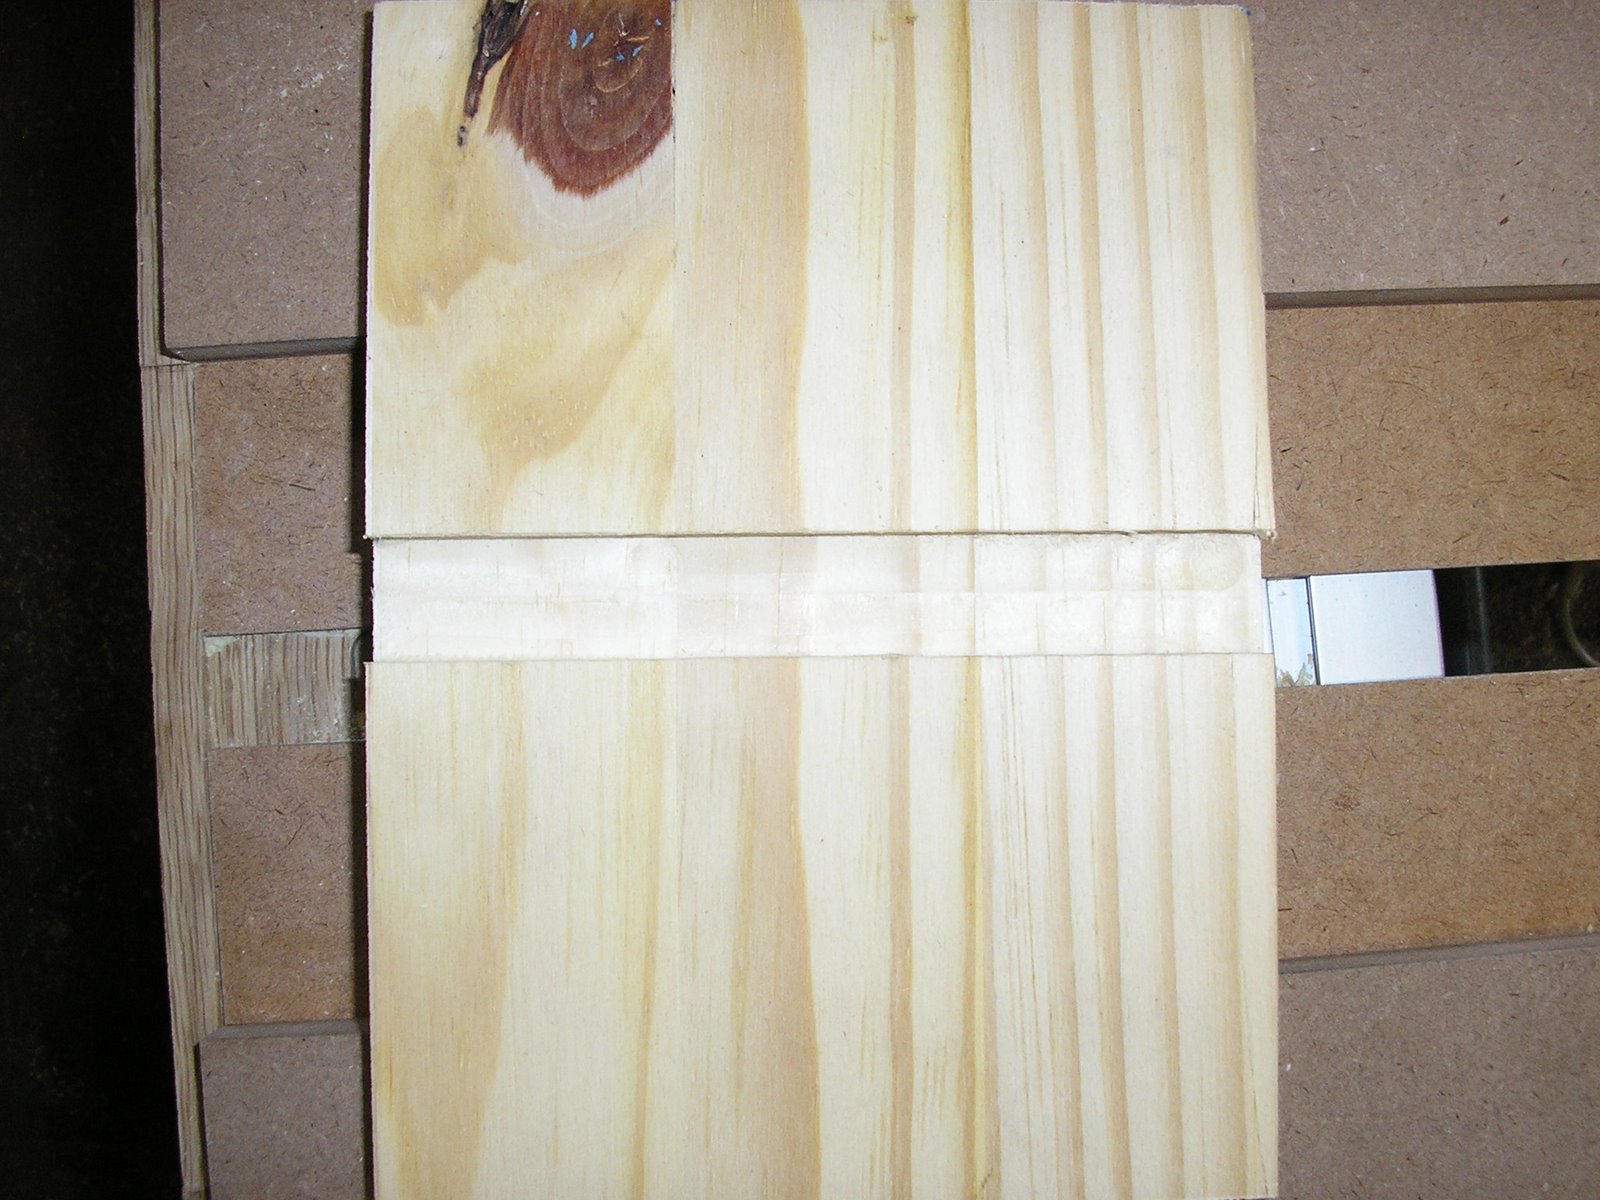
The mass of the lamination is phenomenal - I am able to plane along the length of it and have it remain in place due entirely to its incredible mass! I assume from this little experiment that the bench in its final form will not be going ANYWHERE when I plane on it by hand - I simply can't wait!!

Sunday, March 28, 2010

ROUBO TOP

I decided to commence construction of the top - that way I can throw it up on a pair of sawhorses to get the glue-ups complete. The top will then serve as a work surface during the construction of the legs and stretchers.


Since the top will be flattened using hand planes, it is imperative that the grain direction of all the boards forming the lamination run in the same direction. This afternoon I set about determining the grain direction of each board by planing in what looked to be the correct direction and then checking for tear-out. I also measured the MC of each board and recorded the result on each board. It will be interesting to see how this changes over the next week.


The Rain Forest. The boards lying on the floor will become the top. The lumber in the background will become the legs and stretchers


Here you can better see the grain direction as I have marked them on the individual boards


Next weekend I will begin planing and truing the boards to size. The top will be in the order of 1,600 by 600 x 100 - so I expect handling it to be somewhat of a challenge - another good reason to complete the top first.

LET THE ROUBO BEGIN

I finally took myself off to the local lumberyard and bought what seems like a small rain forest worth of wood for my Roubo bench.

There are a number of challenges that I'm going to facing - not least of which is going to be the lack of space in my garage. Today was spent re-arranging the shop in order to accomplish two important tasks: create enough space to work in - this will be the biggest project I have tackled thus far; and create enough space for the bench when it is completed! I started by ripping out a bench that the previous homeowner had built some forty years ago and bolted to the wall. It has served me well thus far as a place to dump "stuff" that had no permanent home. Today it was relieved of this duty, and has now found a new home in a waste skip.

Of course, the next obstacle I faced was the fact that storage space is at a premium. I'm firm in my resolve though to construct my bench! Storage solutions will follow - built on my new bench!

I am a little puzzled as to the moisture content of the lumber. I don't want to start assembly without the lumber having had a chance to equilibrate with the environment. The "rain forest" measured between 13% and 15% MC. But so too did the wood from the old bench. Do I assume that the rain forest is in equilibrium? This is hardly likely considering it has spent only 24 hours in the garage. The question though is how long do I leave it in anticipation of a reduction in the MC? Other samples taken from varies species of wood that have been in the garage for at least 6months vary between 12% and 14%. I'm probably going to start machining stock next weekend, so it will be interesting to see what results are obtained then.

Photo's will follow with the next posting. Today was just too much of a messy affair to bother with the camera!

Thursday, December 3, 2009

VINTAGE HAND PLANE RESTORATION

As I have previously indicated, I have a growing fetish for handplanes. The last six months or so have resulted in a collection that has grown from a single Stanley #220 to over 20 different benchplanes. My collection includes Stanley #3 to #7 bench planes including a #4 1/2, a #45, #71, #75 and a range of wood bodied jack planes and coffin shaped smoothers.

I recently restored one of the Stanley #3's that I picked up for around R250 (about $33) on a local auction website. Considering that a current (crappy!) Stanley 12-204 retails for around R750 (about $100) I don’t think I did too badly on the purchase price especially considering that it included the shipping costs from Cape Town to Johannesburg.

It’s probably a Type 19 (1948 to 1961) that was in pretty good condition to start with: minor surface rust on all metal components and a sole that wasn’t too far from flat. I would hazard a guess at around a mid 1950’s model. I took care of the corrosion by means of electrolysis and also removed the original japanning. The tote and front knob were stripped, sanded and recoated with polyurethane varnish.

After spray painting the body black I set about tuning the plane. The frog was filed flat and lapped; the sole was flattened using a granite surface plate and water paper. The sides of the sole were lapped in the same fashion. The frog was bedded into the frog receiver with diamond grinding paste and copious amounts of elbow grease.


The iron was in fairly good nick so I simply flattened the back and went about putting a decent cutting edge on it. The cap iron was set and polished after I had fussed around with the iron.


Here are the “before” pics:


And the obligatory “after” pic:


The proof of the pudding was when I took to a piece of pine. I set the iron to take a fairly thick shaving and had one of those “WOW!!” moments when the plane sliced effortlessly through the wood:


I was pleasantly surprised to discover that the shaving was thin enough to read through (The photo really doesn’t do the shaving any justice! And small things do amuse small minds!!)


Am I having fun with my growing collection of hand planes? You bet I am! Since I’m not going to be in a position to get my grubby little paws on a Lie-Nielsen or a Veritas plane any time soon owing to a truly prohibitive exchange rate, I’ve decided to go for the middle ground and experience the satisfaction of taking someone else’s “junk” and turning it into something that I can use and hopefully pass on to my son someday should his little sparks of interest in the craft continue to grow.

Sunday, May 3, 2009

VARIABLE WIDTH JIG FOR ROUTING DADOES

After some considerion, I came to the conclusion that the registration of the right hand half of the jig need not be 110%. When routing a dado, the width will be set using the mating shelf and the two halves of the jig will thus automatically be parallel to one another.

Here are photos of the jig in use:

Here the jig is set to its default width of 3/8". This is the narrowest width that the jig will accommodate, and is determined by the diameter of the router bit - 3/8".


Here the jig is set to its maximum width of 50mm.


Using the shelf to set the dado width


Cut the dado with the router


The end result - a dado that is cut to the perfect width


The shelf fits perfectly into the dado without any fuss - a definite up-side when you have a lot of shelves to fit! All that needs to be done now is for me to fit the hardware that will facilitate a stopped dado.

Sunday, March 22, 2009

WHEN JIGGIN' AIN'T FUN!

On the DVD cabinet front, work has progressed to the point where I need to cut the stopped dadoes for the shelves - and then it's assembly time! (One down, a few more to go...?)

The router jig is almost complete: I need to assemble it, and this is causing all manner of frustrations! I've made a left and right side for the jig that will facilitate the variable width dado, I have the hardware and the wood cut that will incorporate the fixed stop, I just need to fit it. The problem though, is that I need to join the two "halves":

My plan is to fix the left half to a strip of oak on the underside that will give me a perfect right angle for the dado; the right half will be attached to the same oak strip, but will have a slot cut in it to facilitate the adjustment needed for the variable dado width. The problem is to figure out a way to ensure that the right half is perfectly parallel to the left half.

I've had a couple ideas that didn't pan out quite as well as I thought they would... so it's back to the drawing board!

Perhaps I should head off to the myriad "free woodworking plans" sites for some ideas...!

Saturday, March 14, 2009

ON DVD CABINETS, RUST AND THE LIONS

I failed to mention that before I get going on my Roubo and the infill-plane, I have a stack of projects that need completing first.

Before I started work this morning, I had to take care of a few rust spots that had appeared on my band saw table, courtesy of all the rain we have had lately and a loose roof tile. I took to the table with Q20 and P360 water paper to remove the spots and then ragged on a thick coat of paste wax to seal the surface again (and hopefully prevent any more rust!). I'll tackle the roof tile tomorrow!

I then spent the day milling stock for a pair of DVD cabinets. I am making them from American White Oak - a species that I particularly enjoy working with (along with kiaat, imbuia and rosewood, in no particular order). The cabinets are designed to hold 160 DVD's each and occupy a minimal amount of floor space.

I will post photos of the project when I start assembly. All things being equal, this should probably be next weekend.

The shelves will be housed in stopped dadoes in the casework. Now the last time I made one of these cabinets, I battled to cut the dado width accurately, and ended up having to spend a great deal of time fitting the shelves. This was not time well spent, so I have resolved to make a router jig that can be used for any width dado. The jig will also have a positive stop to better control the end position of the stopped dado. So stay tuned for photos of the jig both during the manufacturing stage as well as in use!

And now I'm off to commiserate with myself on the Lion's truly DISMAL Super 14 performance at Newlands this afternoon! Perhaps they would be more successful at synchronised sleeping than they are at rugby!