Sunday, February 27, 2011

COMPLETION

OK - so I'm not the most diligent blogger out there. In fact, I'd go so far as to say I'm pretty bad when it comes to updating my blog - how else could you explain the jump from my last post to this:


Since my last post, there has been much activity (spot the understatement!):
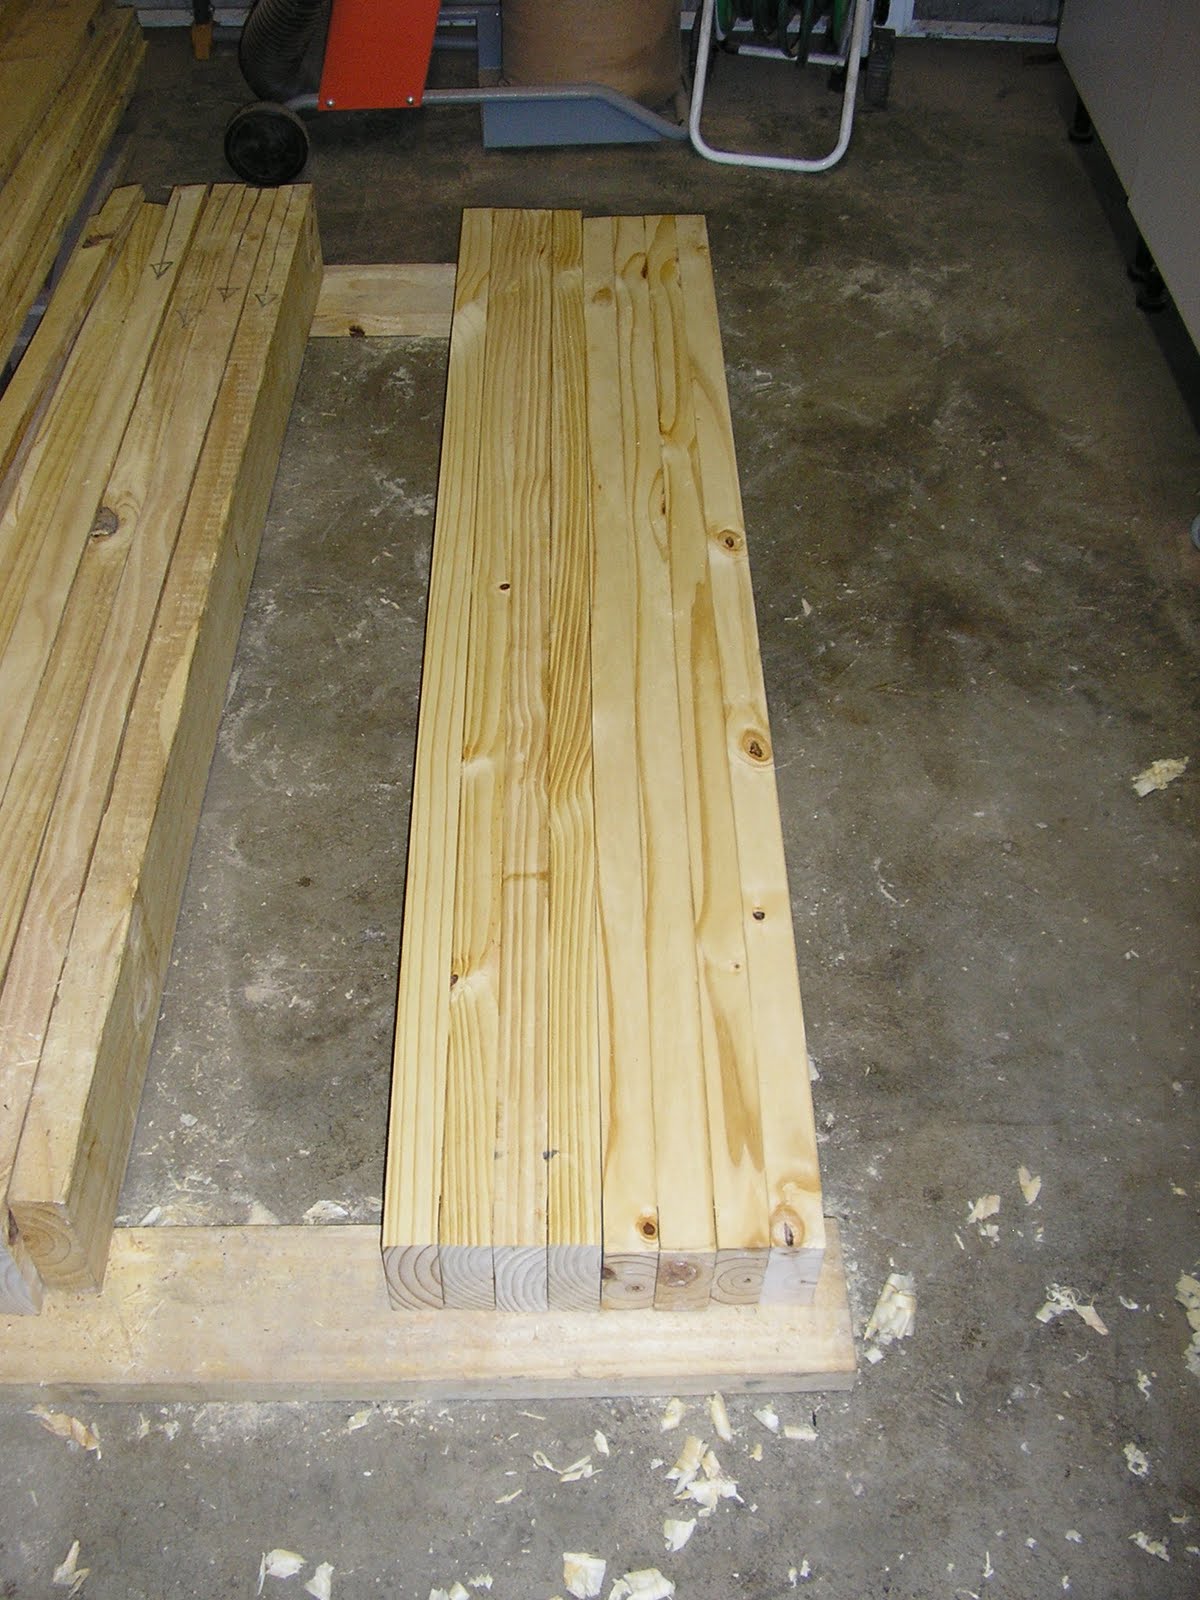
  • Stock for the legs was machined and laminated; the tenons at the top of the legs were formed at the time of lamination
  • The stretchers were made in a similar fashion
  • The chop for the leg vise was laminated
  • The handle was turned for the leg vise
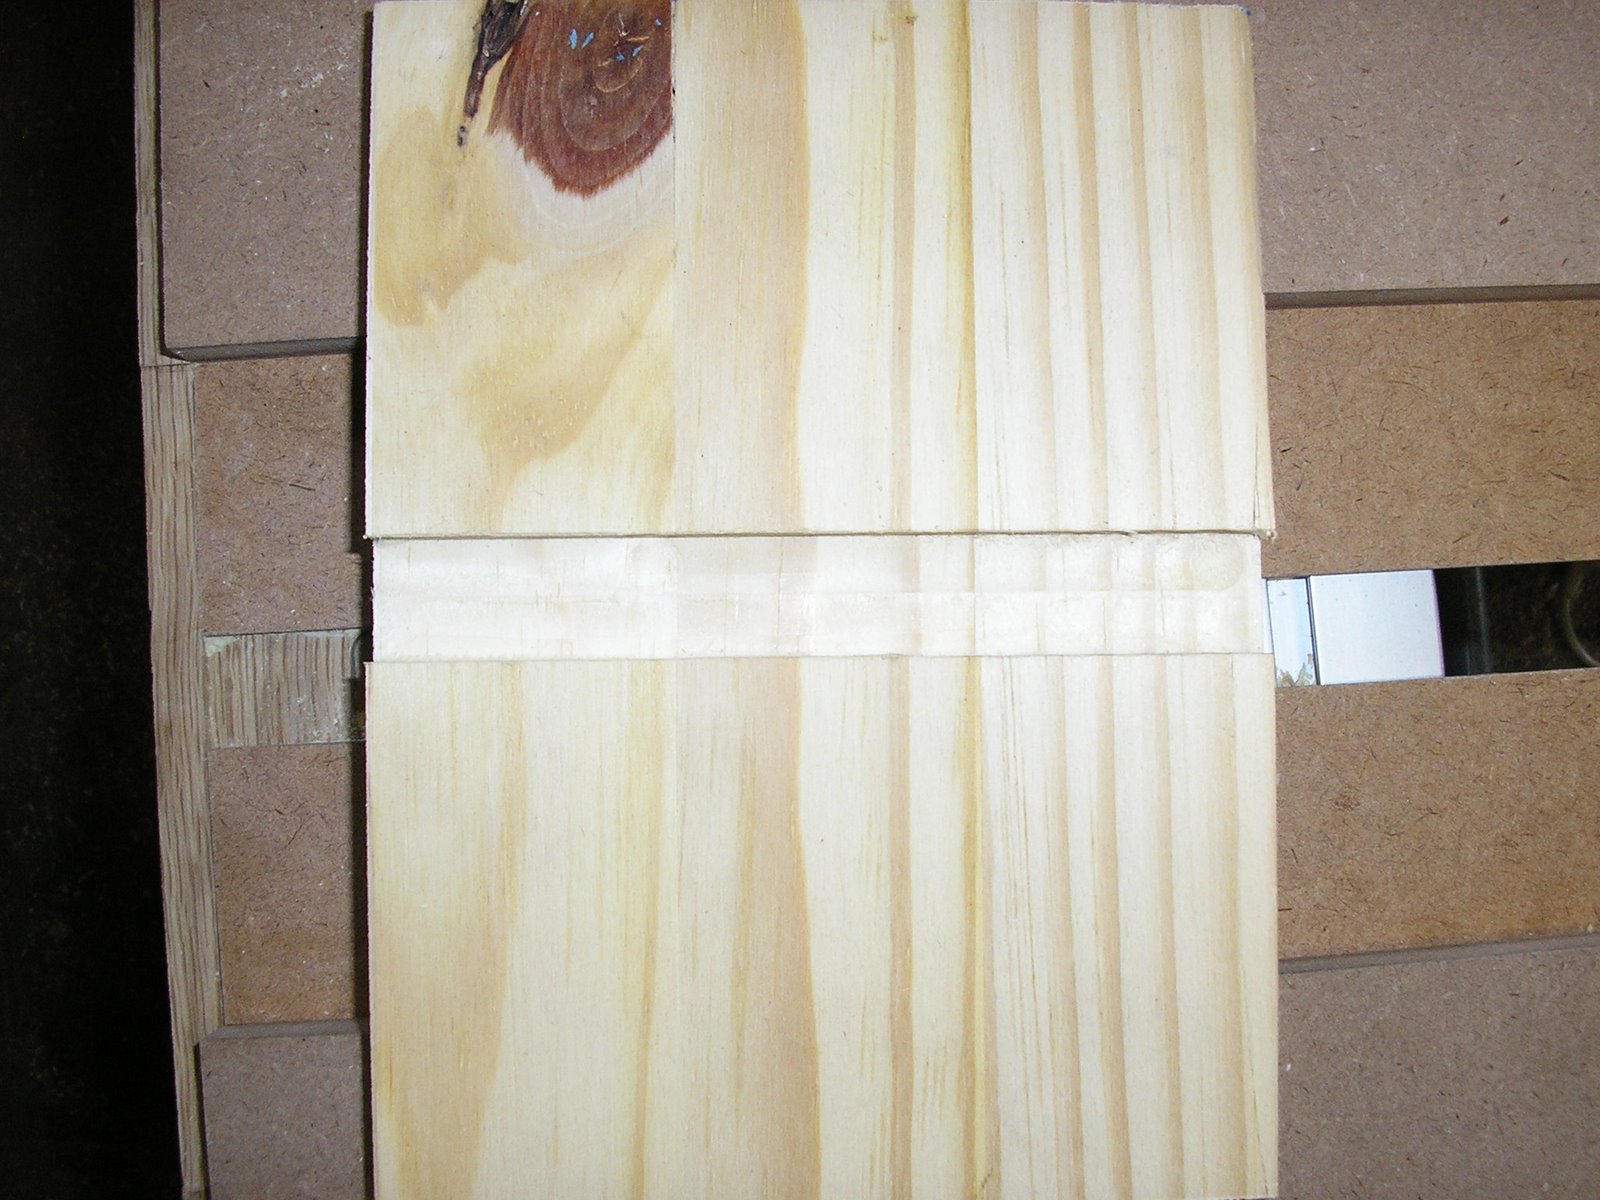
  • The parallel guide for the leg vise was machined and drawbored into a mortise in the chop 
  • Mortises were cut in the legs and the top for assembly
  • The legs and stretchers were assembled and the joints drawbored and glued
  • The top was assembled to the  leg / base assembly and the mortise and tenon joints were drawbored and glued
  • The sliding deadman was laminated, shaped and the holes drilled
  • The support peg was turned for the sliding deadman
See - I told you I was no good at updating this blog!

This bench is AMAZING. Effortless workholding means I can focus on getting the tools to do the job they were intended to do instead of focusing my efforts on preventing the workpiece flying around. This has made a HUGE difference to the way I work - and has improved the accuracy of my work no end.

I estimate the overall mass at around 100kg (±220lbs) in its present form - perhaps not as much as I had hoped for initially. Still, this is a phenomenal improvement over the collapsible "bench" that has served me to date.

Still to do:

  • I need to apply a finish to the bench
  • I need a series of dog holes through the top - but I'm holding off on drilling them until I'm confident at what will be their ultimate placement
  • I need to make a shelf for the base. This will serve the purpose of providing decent storage below the bench as well as adding to the overall mass of the bench. This is a GOOD thing - believe me!
  • I'm probably going to cobble together Chris Schwarz's Tool Rack with some minor variations to suit my shop.
In the meantime, I'm continuing to practise handcut dovetails - a skill I decided to acquire a couple weeks ago. (That and make a start on the WAY overdue kitchen  cupboards!!!)

 I repeat - I really am no good at this whole blogging thing!

I do however promise to try and make an attempt to keep updating with progress on the dovetail front!

Saturday, May 8, 2010

THE TOP PART 5

The top has (FINALLY!) now been completely glued-up. A considerable amount of time has been spent ensuring that I have tight glue seams between each of the three laminations that comprise the top. The means to this end was careful jointing of each lamination side. This entailed repeated checking with the winding sticks to ensure the edge was not "in wind", and frequent checks with a square to ensure that the edge was indeed at right angles to the top of each individual lamination.

Here you can see the winding sticks on the edge of the lamination. At first I though jointing such a wide edge would be a rather daunting task. This proved to be somewhat unfounded: it is easier to joint because the plane is less likely to tip while planing, making the job somewhat easier than I anticipated.

Having made sure that each of the edges was suitably prepared, I joined two of the laminations together. This was followed by the third lamination once the glue had set. Although I never used all the clamps in my collection, I certainly dug deep for this glue-up! I have no idea what the mass of the top is at this point, suffice it to say that it is HEAVY! I had to rope in my trusty assistant to help manhandle the laminations for the final glue-up (thanks Dad!).
I will be removing the clamps in the morning and doing some further tweaking (hand planing!) of the surface. This should provide me with a reasonably flat work surface. Needless to say this will prove invaluable in the making of the legs and stretchers - a task which ought to commence in the next couple weeks.

Tuesday, April 27, 2010

THE TOP PART 4

The tail vise screw that I purchase from Lee Valley was delivered on Monday 12 April! This is a pretty well travelled screw: it was shipped from Ottawa to Mount Hope Ontario to Louisville, Kentucky, to Köln, Germany to Johannesburg. I doubt the local postal system would have been as efficient in delivering a letter from my address to the house next door!

The smaller projects that have been occupying my time of late have finally been completed, so it was back to the Roubo this weekend.

I glued up the final lamination after having purchased an additional board to obtain my finished width of 600mm. This basically entailed jointing and planing the boards square and gluing up. Some preliminary flattening was done with the handplanes in order to obtain a reasonable flatness to put through the thicknesser.

The first lamination presented somewhat of a challenge in that I had ripped the boards pretty close to finished width. Not only did I have precious little material to play with, I also discovered this lamination to be significantly in wind. At this point I was quite prepared to scrap this assembly and remake it. Since the lumber yard was closed for the long weekend, I decided to see what could be done to salvage it. So it was back to work with the jointer plane and winding sticks to obtain some degree of flatness again, while at the same time preserving as much of the material as possible to ensure the finished thickness of 100mm.


Having completed this task, I put each of the laminations through the thicknesser in order to obtain the finished thickess of 100mm.


I was concerned at the Ryobi's ability to handle such a wide board - this proved to be unfounded, as it performed the task without flinching.
I was careful to ensure that my outfeed roller was well positioned to catch the boards as they passed through the machine.


My finished thickness ended up at 98mm - because of the inaccuracies of the first lamination. All things considered though, this is not a bad margin of error on boards of this length, width and weight!


The top is starting to take on a beefy appearance. At this stage it looks as though you could park a small car on it and not have it deflect!


The next step in the process will be to joint the edges of each lamination. This will facilitate the assembly of the top and ensure that the laminations pull together square. Because of the size of each lamination, it will be impossible for clamping pressure alone to ensure a tight glue line, so the edges will have to be jointed perfectly prior to glue up. This is scheduled to take place next weekend.

Following on from that, I will begin construction of the legs and stretchers - and then it's assembly time!

Wednesday, April 7, 2010

THE SCREW

Tonight I placed the order for the screw that I am going to use for the leg vise with Lee Valley Tools in Canada. My thinking was that it would take around four to six weeks for delivery, which would mean that it would be delivered around the time I would be ready to assemble it into the bench.

Surprise 1: Surface mail delivery from Canada was quoted at $78.50 and an eight to twelve week lead time
Surprise 2: UPS delivery was quoted at $95.18 and a five to six DAY delivery lead time.

The difference of $16.68 made it a no-brainer! If all goes well I should have my parcel delivered by next week Friday at the latest!

In case you're interested, I purchased the Lee Valley Tail-Vise Screw (Item 70G01.52 ) for the princely sum of $36.50 - OUCH! is appropriate when considering the cost of shipping! I never ordered the handle - I think I'll have a little fun and make that myself when the time comes.

I can however highly recommend Lee Valley. After a minor glitch with their web-site, a 10 minute phone call to Canada resolved the issue in a friendly and efficient manner. Local companies could take a leaf from their book with regards service!

Tuesday, April 6, 2010

THE TOP PART 3

Tonight was yet another one of those times that I reaffirmed the fact that "if you have to ask the question, you already know the answer".

The clamps came off the second lamination this evening, and the surface was examined for flatness. The result was amazing! The boards for this lamination were cut on the table saw rather than the band saw. I have two table saws, and opted to use the belt driven Kity K5 rather than the Ryobi direct drive. Although the cut was almost at the limit of the Kity's capacity, the results were astoundingly better than the band saw.

Did I know this when I opted to use the band saw in the first place - naturally! Hence the change to the table saw for the second lamination! And (hence!) the far superior result!! If I had only listened to my gut when I first asked the question, "Band saw or table saw?"!!

After about 45 minutes of spirited planing, the lamination was put aside - ready for final thicknessing.

Here you can see the first two laminations - ready for the thicknesser.

Is this the most fun you can have with your clothes on? Well, there was that time I made a birdie on the 500m Par 5 18th at Magalies Park Country Club...

Monday, April 5, 2010

THE TOP PART 2

The first lamination was taken out of the clamps on Saturday morning - amid much anticipation. I then proceeded to attempt to flatten the top, and must say that I didn't do too badly. The corners still need a little work, but the surface (on the whole) has been flattened reasonably well.

I proceeded by cutting a pair of winding sticks, and used them to sight down the lamination to determine whether it was "in wind" or not. I also used a winding stick to check for surface flatness by dragging it along the top and marking areas where the stick did not touch the entire surface. All the time I was doing this, I continually checked for squareness.

Once I had an idea of what I was up against, I went at the surface with my Record No 6 Jointer Plane. I took overlapping strokes diagonally across the surface. Once the plane was making shavings along the full length of the cut, I presumed I had a somewhat flat surface. I then (using the jointer) took cuts down the length of the lamination, and then proceeded to take a final cut with a Stanley No 4 smoother.

My final checks with the winding sticks and a straight edge confirmed that I still have some work to do. That said however, the bulk of the work has been done thus far.

My idea is to get one side as near flat as possible, and then put the lamination through the thicknesser to ensure the opposite surface is equally flat.


The next four boards for the second lamination were the focus of my attention today. These were ripped to width on the table saw rather than the band saw, as I did with the first lamination. This proved to be a much better approach. I believe I will have a lot less planing to do when the clamps come off this lamination!


One final lamination awaits (the loose boards on the left)! The boards for this one will have to be very carefully thicknessed in order to get to my final width. When I measured the first two laminations, I noted that I'm around 20mm narrower than I anticipated. This is primarily due to having to remove more material when thicknessing than I anticipated. This should not be a major issue - it just means preparing another board for the third lamination.


Construction will now have to take a back seat for a week or two, whilst other more important porojects are tackled. Although somewhat repetitive and labour intensive, they can be tackled in the evenings which should (hopefully!) leave the weekends free to continue with Le Roubo. All that needs to happen is for me to clear some space to work in...!

Friday, April 2, 2010

THE TOP PART 1

This has got to be THE MOST challenging project I've undertaken!

I started (pretty late!) this morning by checking the moisture content of the boards after they had spent the last week in the garage. After the incessant rain we've had, the boards had all increased in MC by between 1% and 2%, My assumption therefore is that the boards are pretty close to equilibrium with the environment. Unfortunately, my moisture meter broke during this process, so repairs (and a modification or two to prevent it from conking out again) will be required some time in the future.
The rest of the afternoon was spent sizing the 1,800 x 50 x 100 boards that will form the first of 3 laminations for the top. I've decided to laminate four of these boards together in a set, and laminate 3 sets together to obtain the final width of 600mm.

This should make flattening the individual sets much easier which in turn will make for easier flattening of the top once it's fully laminated.

I only hope that I'll be able to obtain a decent flatness across the length of the boards...


I toyed around with the idea of leaving the top at around 125mm thick - but since I haven't decided on work holding apparatus yet, I decided to go 100mm. That way I get to use my 150mm quick clamps to hold down objects on the surface of the bench.

The mass of the lamination is phenomenal - I am able to plane along the length of it and have it remain in place due entirely to its incredible mass! I assume from this little experiment that the bench in its final form will not be going ANYWHERE when I plane on it by hand - I simply can't wait!!

Sunday, March 28, 2010

ROUBO TOP

I decided to commence construction of the top - that way I can throw it up on a pair of sawhorses to get the glue-ups complete. The top will then serve as a work surface during the construction of the legs and stretchers.


Since the top will be flattened using hand planes, it is imperative that the grain direction of all the boards forming the lamination run in the same direction. This afternoon I set about determining the grain direction of each board by planing in what looked to be the correct direction and then checking for tear-out. I also measured the MC of each board and recorded the result on each board. It will be interesting to see how this changes over the next week.


The Rain Forest. The boards lying on the floor will become the top. The lumber in the background will become the legs and stretchers


Here you can better see the grain direction as I have marked them on the individual boards


Next weekend I will begin planing and truing the boards to size. The top will be in the order of 1,600 by 600 x 100 - so I expect handling it to be somewhat of a challenge - another good reason to complete the top first.

LET THE ROUBO BEGIN

I finally took myself off to the local lumberyard and bought what seems like a small rain forest worth of wood for my Roubo bench.

There are a number of challenges that I'm going to facing - not least of which is going to be the lack of space in my garage. Today was spent re-arranging the shop in order to accomplish two important tasks: create enough space to work in - this will be the biggest project I have tackled thus far; and create enough space for the bench when it is completed! I started by ripping out a bench that the previous homeowner had built some forty years ago and bolted to the wall. It has served me well thus far as a place to dump "stuff" that had no permanent home. Today it was relieved of this duty, and has now found a new home in a waste skip.

Of course, the next obstacle I faced was the fact that storage space is at a premium. I'm firm in my resolve though to construct my bench! Storage solutions will follow - built on my new bench!

I am a little puzzled as to the moisture content of the lumber. I don't want to start assembly without the lumber having had a chance to equilibrate with the environment. The "rain forest" measured between 13% and 15% MC. But so too did the wood from the old bench. Do I assume that the rain forest is in equilibrium? This is hardly likely considering it has spent only 24 hours in the garage. The question though is how long do I leave it in anticipation of a reduction in the MC? Other samples taken from varies species of wood that have been in the garage for at least 6months vary between 12% and 14%. I'm probably going to start machining stock next weekend, so it will be interesting to see what results are obtained then.

Photo's will follow with the next posting. Today was just too much of a messy affair to bother with the camera!

Thursday, December 3, 2009

VINTAGE HAND PLANE RESTORATION

As I have previously indicated, I have a growing fetish for handplanes. The last six months or so have resulted in a collection that has grown from a single Stanley #220 to over 20 different benchplanes. My collection includes Stanley #3 to #7 bench planes including a #4 1/2, a #45, #71, #75 and a range of wood bodied jack planes and coffin shaped smoothers.

I recently restored one of the Stanley #3's that I picked up for around R250 (about $33) on a local auction website. Considering that a current (crappy!) Stanley 12-204 retails for around R750 (about $100) I don’t think I did too badly on the purchase price especially considering that it included the shipping costs from Cape Town to Johannesburg.

It’s probably a Type 19 (1948 to 1961) that was in pretty good condition to start with: minor surface rust on all metal components and a sole that wasn’t too far from flat. I would hazard a guess at around a mid 1950’s model. I took care of the corrosion by means of electrolysis and also removed the original japanning. The tote and front knob were stripped, sanded and recoated with polyurethane varnish.

After spray painting the body black I set about tuning the plane. The frog was filed flat and lapped; the sole was flattened using a granite surface plate and water paper. The sides of the sole were lapped in the same fashion. The frog was bedded into the frog receiver with diamond grinding paste and copious amounts of elbow grease.


The iron was in fairly good nick so I simply flattened the back and went about putting a decent cutting edge on it. The cap iron was set and polished after I had fussed around with the iron.


Here are the “before” pics:


And the obligatory “after” pic:


The proof of the pudding was when I took to a piece of pine. I set the iron to take a fairly thick shaving and had one of those “WOW!!” moments when the plane sliced effortlessly through the wood:


I was pleasantly surprised to discover that the shaving was thin enough to read through (The photo really doesn’t do the shaving any justice! And small things do amuse small minds!!)


Am I having fun with my growing collection of hand planes? You bet I am! Since I’m not going to be in a position to get my grubby little paws on a Lie-Nielsen or a Veritas plane any time soon owing to a truly prohibitive exchange rate, I’ve decided to go for the middle ground and experience the satisfaction of taking someone else’s “junk” and turning it into something that I can use and hopefully pass on to my son someday should his little sparks of interest in the craft continue to grow.

Sunday, May 3, 2009

VARIABLE WIDTH JIG FOR ROUTING DADOES

After some considerion, I came to the conclusion that the registration of the right hand half of the jig need not be 110%. When routing a dado, the width will be set using the mating shelf and the two halves of the jig will thus automatically be parallel to one another.

Here are photos of the jig in use:

Here the jig is set to its default width of 3/8". This is the narrowest width that the jig will accommodate, and is determined by the diameter of the router bit - 3/8".


Here the jig is set to its maximum width of 50mm.


Using the shelf to set the dado width


Cut the dado with the router


The end result - a dado that is cut to the perfect width


The shelf fits perfectly into the dado without any fuss - a definite up-side when you have a lot of shelves to fit! All that needs to be done now is for me to fit the hardware that will facilitate a stopped dado.

Sunday, March 22, 2009

WHEN JIGGIN' AIN'T FUN!

On the DVD cabinet front, work has progressed to the point where I need to cut the stopped dadoes for the shelves - and then it's assembly time! (One down, a few more to go...?)

The router jig is almost complete: I need to assemble it, and this is causing all manner of frustrations! I've made a left and right side for the jig that will facilitate the variable width dado, I have the hardware and the wood cut that will incorporate the fixed stop, I just need to fit it. The problem though, is that I need to join the two "halves":

My plan is to fix the left half to a strip of oak on the underside that will give me a perfect right angle for the dado; the right half will be attached to the same oak strip, but will have a slot cut in it to facilitate the adjustment needed for the variable dado width. The problem is to figure out a way to ensure that the right half is perfectly parallel to the left half.

I've had a couple ideas that didn't pan out quite as well as I thought they would... so it's back to the drawing board!

Perhaps I should head off to the myriad "free woodworking plans" sites for some ideas...!

Saturday, March 14, 2009

ON DVD CABINETS, RUST AND THE LIONS

I failed to mention that before I get going on my Roubo and the infill-plane, I have a stack of projects that need completing first.

Before I started work this morning, I had to take care of a few rust spots that had appeared on my band saw table, courtesy of all the rain we have had lately and a loose roof tile. I took to the table with Q20 and P360 water paper to remove the spots and then ragged on a thick coat of paste wax to seal the surface again (and hopefully prevent any more rust!). I'll tackle the roof tile tomorrow!

I then spent the day milling stock for a pair of DVD cabinets. I am making them from American White Oak - a species that I particularly enjoy working with (along with kiaat, imbuia and rosewood, in no particular order). The cabinets are designed to hold 160 DVD's each and occupy a minimal amount of floor space.

I will post photos of the project when I start assembly. All things being equal, this should probably be next weekend.

The shelves will be housed in stopped dadoes in the casework. Now the last time I made one of these cabinets, I battled to cut the dado width accurately, and ended up having to spend a great deal of time fitting the shelves. This was not time well spent, so I have resolved to make a router jig that can be used for any width dado. The jig will also have a positive stop to better control the end position of the stopped dado. So stay tuned for photos of the jig both during the manufacturing stage as well as in use!

And now I'm off to commiserate with myself on the Lion's truly DISMAL Super 14 performance at Newlands this afternoon! Perhaps they would be more successful at synchronised sleeping than they are at rugby!

Friday, February 27, 2009

MY FIRST POST

This has turned into more of a head-scratcher than I thought - here I am with my very own blog, a head full of ideas and nothing to write about... so let me begin by telling you a little about me.

I live in Johannesburg, South Africa, and am an avid woodworker with a growing hand-plane fetish (there's something truly sublime about a well-tuned hand plane). That said, I'm not averse to electron guzzling machines. I try and select the best tool for the job, and if "the best tool" has a 220V umbilical cord attached, then so be it.

My favourite solid modelling program has got to be Google Sketchup. The projects I tackle begin as 3D models in this intuitive, easy to use package.
The most attractive feature of Sketchup is the purchase price (absolutely free!).
[Download Here]
Popular Woodworking and its sister publication Woodworking Magazine (check out my Blog List on the right) have a growing collection of Sketchup models
. So if you're looking for inspiration for a project, follow this link for a range of project plans that you can rotate, dissect and re-assemble to your heart's content.

I have a couple of "itches" that I'll be scratching in the coming months:

1. I've promised myself that I WILL build a
Roubo-style workbench for my woodshop. (I currently use a variety of work surfaces that no longer suit the type of work that I want to do)

and

2. I plan on building my own infill plane to satisfy my hand-plane fetish

Now I don't know which is the more challenging (daunting?) of these tasks, but I'll be keeping you informed of progress as (and when!) it happens.

That's about it for now... with my growing to-do list, I need to spend more time making wood shavings and less time in front of the PC.